Step by Step Fall Drawing
Each season has its own beautiful aspects, from the bright sun of Summer to the white snow of Winter, there's always something to appreciate.
Fall is no exception, as it's a time of evening chills, Halloween decorations and the changing of the leaves on the trees.
The falling of the crispy leaves is probably the image most associated with this wonderful season, and if you want to get into the Fall spirit then you're in the right place!
This step-by-step guide on how to draw Fall leaves in just 10 easy steps will get you having artistic Fall fun in no time!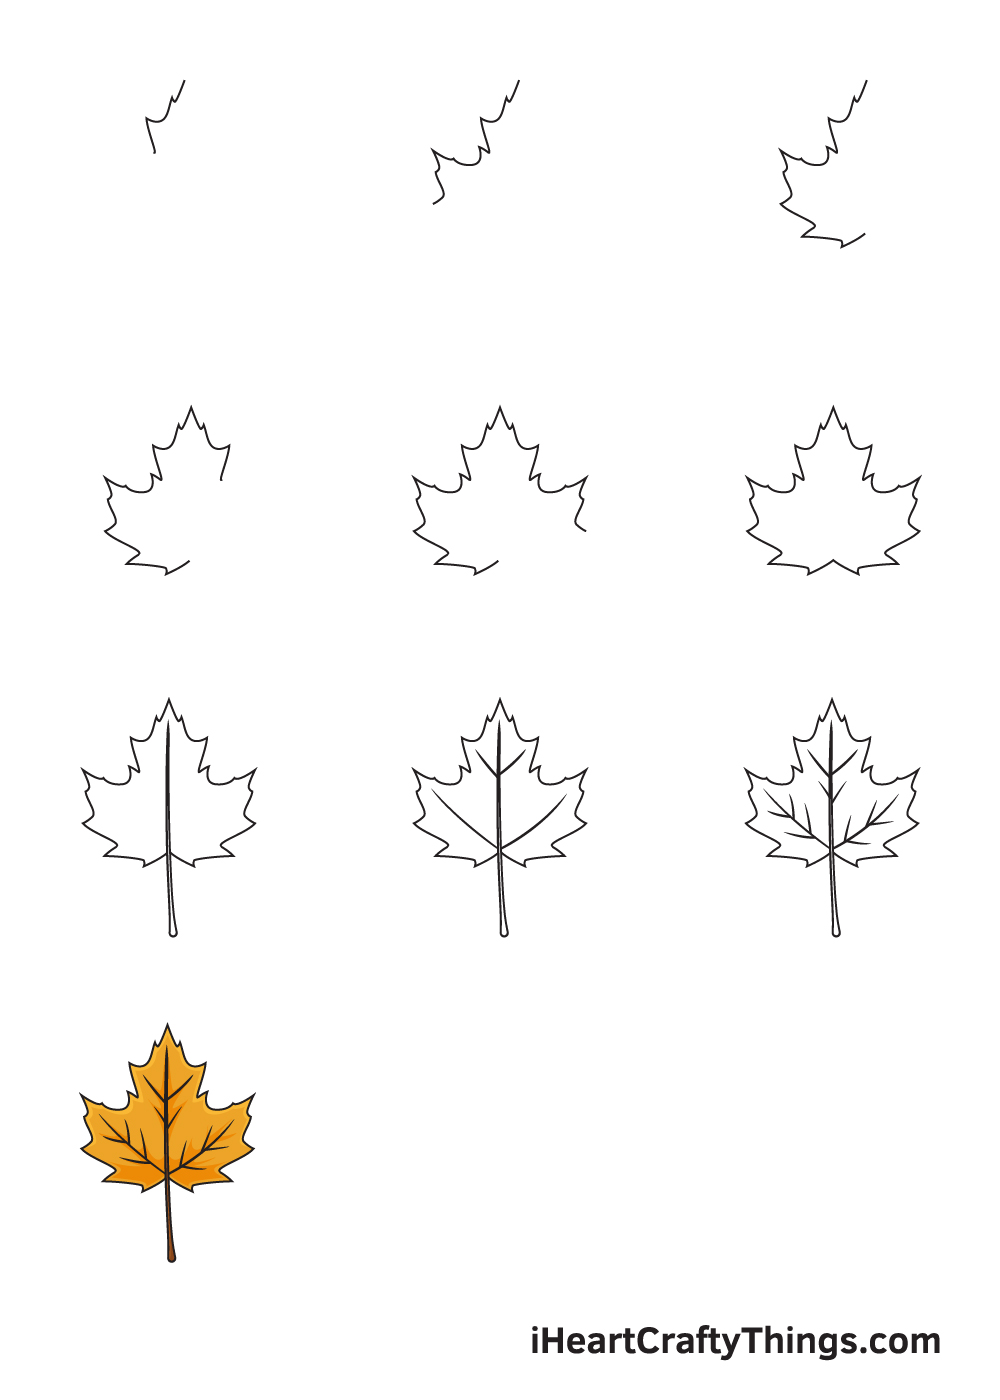
What's in this Blog Post
- How to Draw Fall Leaves – Let's get Started!
- Step 1
- Step 2 – Draw in some more of the leaf
- Step 3 – Now, draw in the bottom left of your leaf
- Step 4 – Next, start to mirror the top of the leaf
- Step 5 – Continue drawing more of your leaf
- Step 6 – Finish mirroring the final part of the leaf
- Step 7 – Now, draw in a stem for your leaf
- Step 8 – Next, add some veins to your leaf
- Step 9 – Draw some final details
- Your Fall Leaves Drawing is Complete
How to Draw Fall Leaves – Let's get Started!
Step 1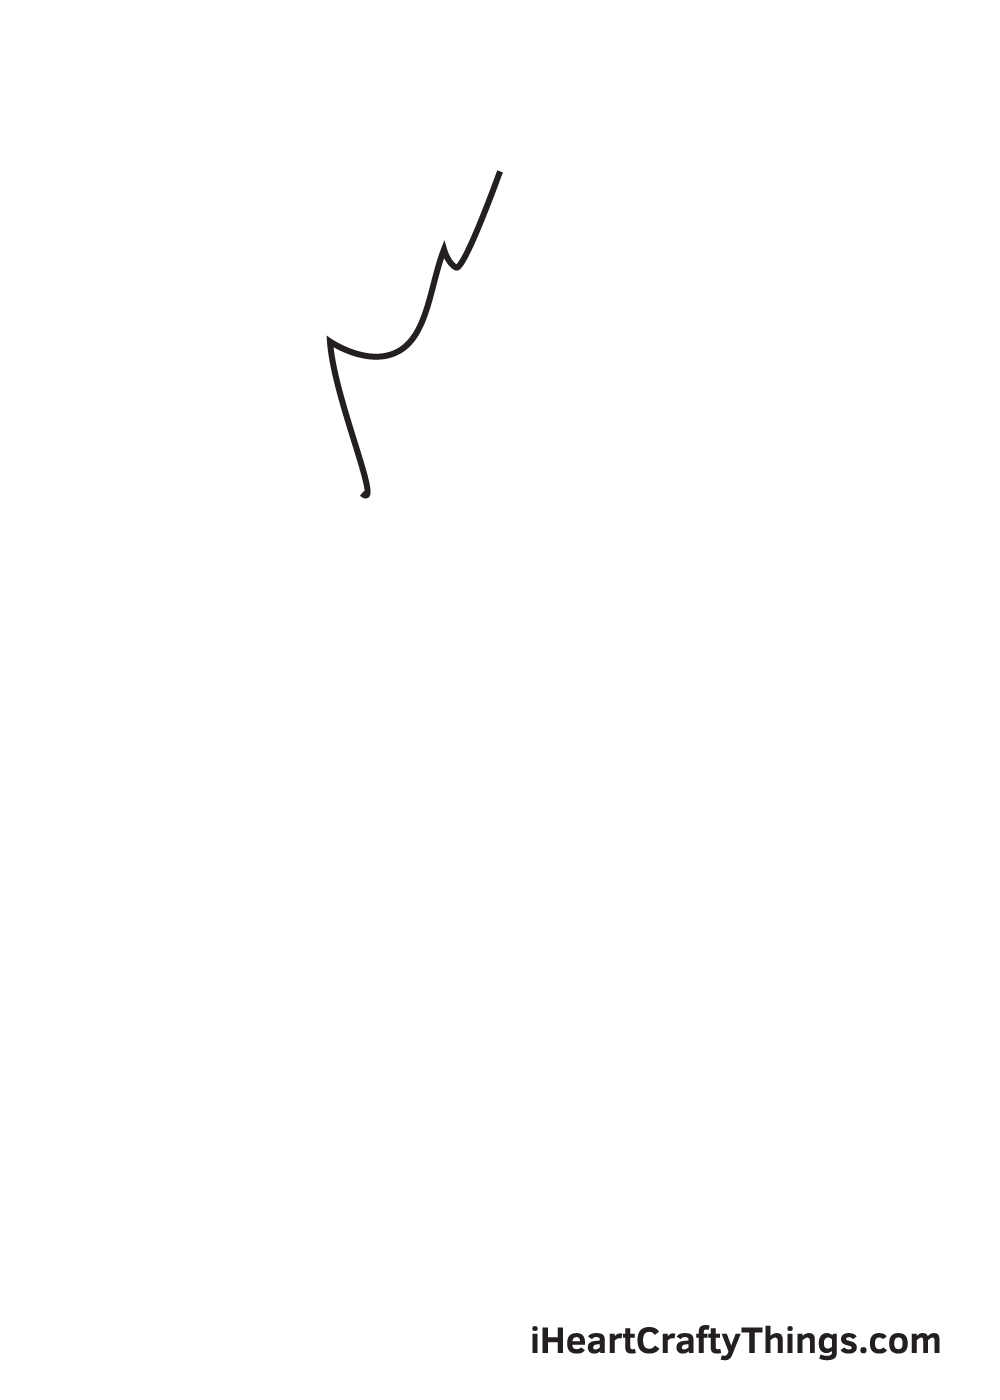
Perhaps the most iconic Fall leaf is the maple leaf, so we shall be drawing one in this guide on how to draw Fall leaves.
You may have seen a maple leaf many times before, but they have quite an intricate design that we'll be replicating.
Using the reference picture as a guide, draw in an angled jagged line that has smaller points at the top and larger ones near the bottom. Once it looks like the picture, we can move on to step 2!
Step 2 – Draw in some more of the leaf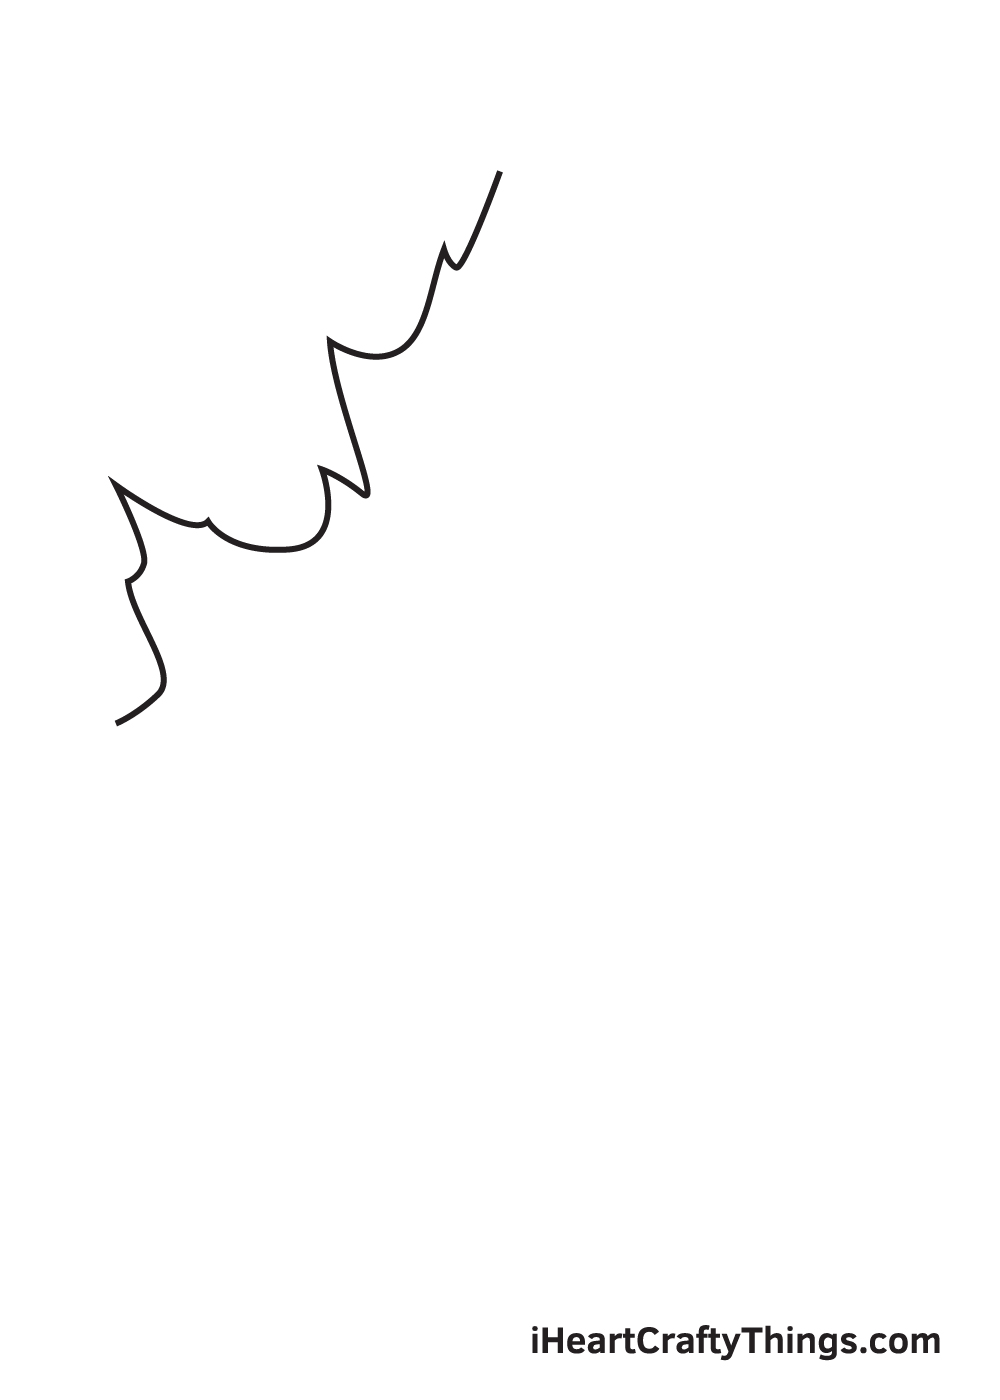
With the first part of your Fall leaves drawing done, we can start to draw in the side section that will extend outwards.
They will have a large point before moving back inwards as you can see in the reference picture.
Step 3 – Now, draw in the bottom left of your leaf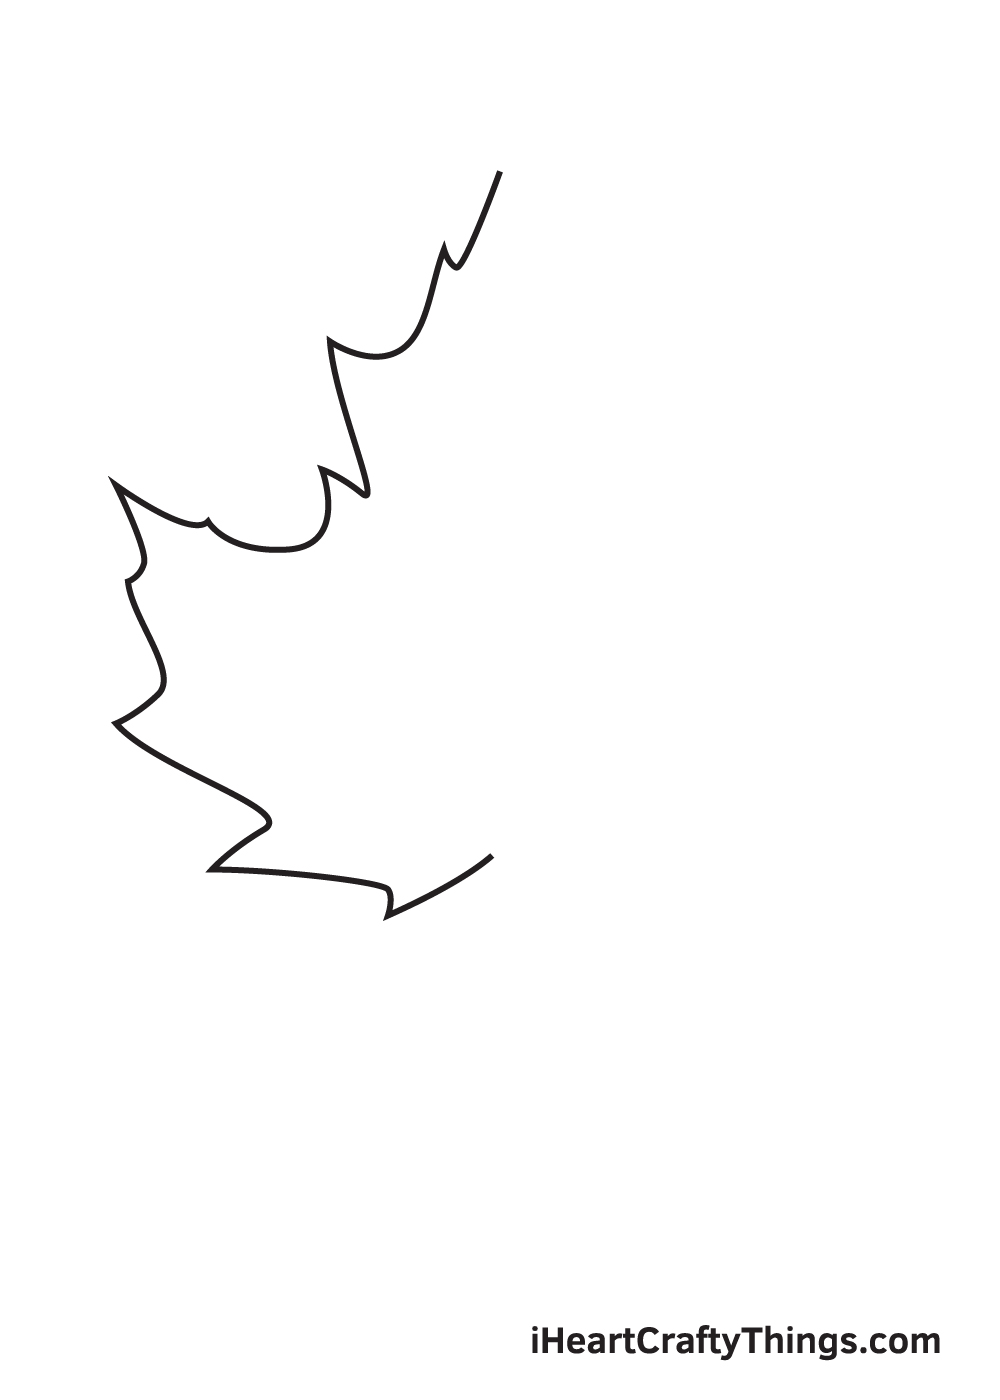
The bottom left part of the leaf will be made up of three jagged edges that move inwards to the bottom of your Fall leaves drawing.
With that step done, you have the first half of your leaf complete and we will be mirroring it in the next few steps of this guide on how to draw Fall leaves.
Step 4 – Next, start to mirror the top of the leaf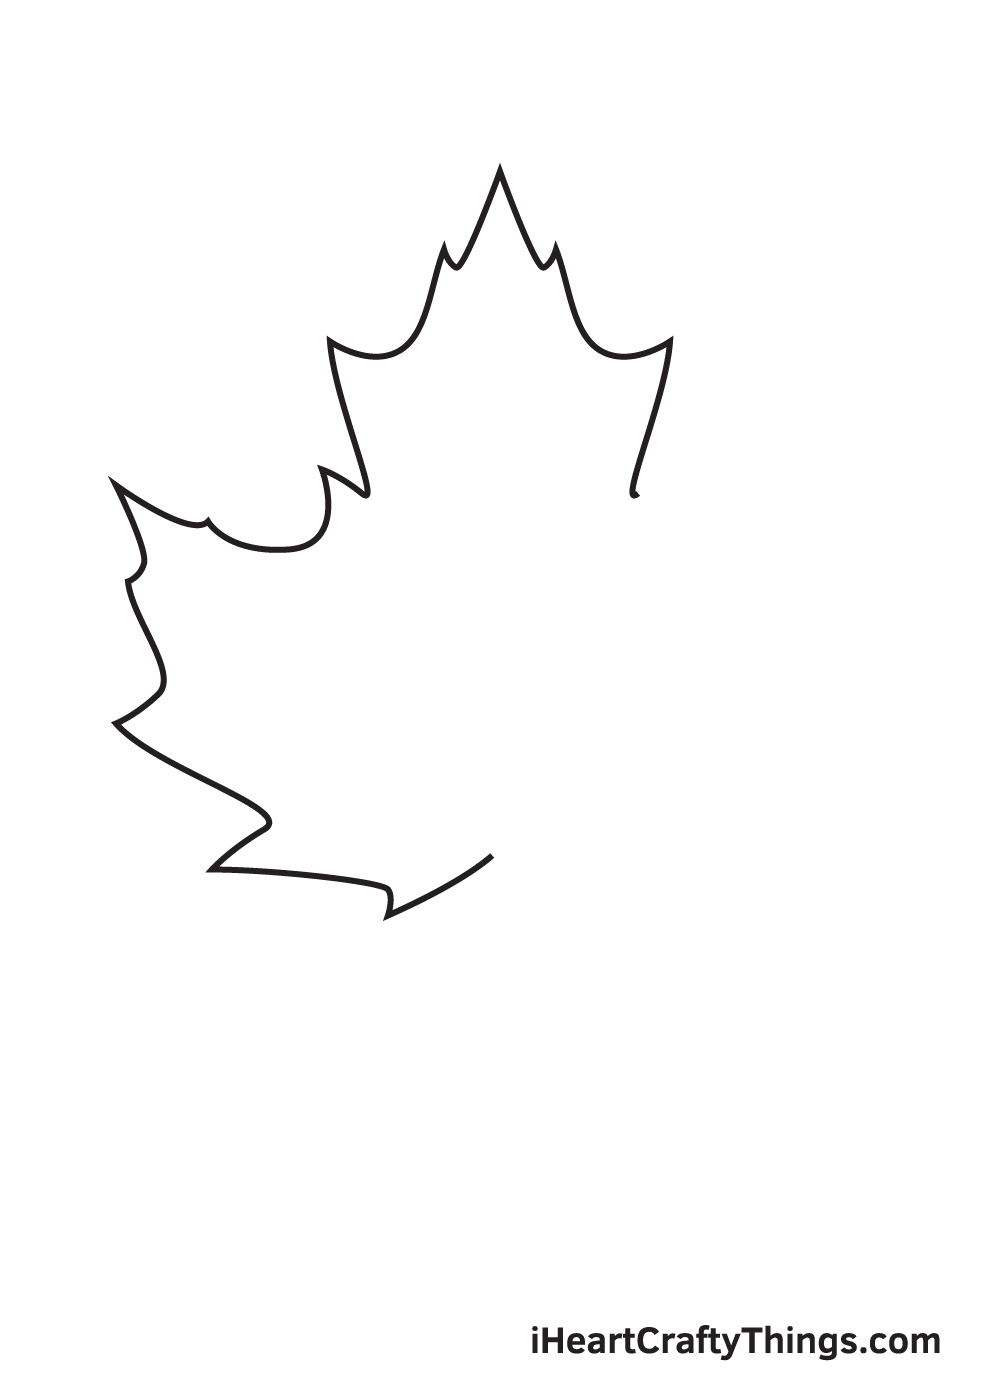
As we mentioned in the previous step, from this point onwards we will be creating a mirror image of what you have already drawn.
This should be a bit easier, as you have your own drawings to guide you, but the reference image will also help a lot. For this part, simply replicate what you did in the very first step.
Step 5 – Continue drawing more of your leaf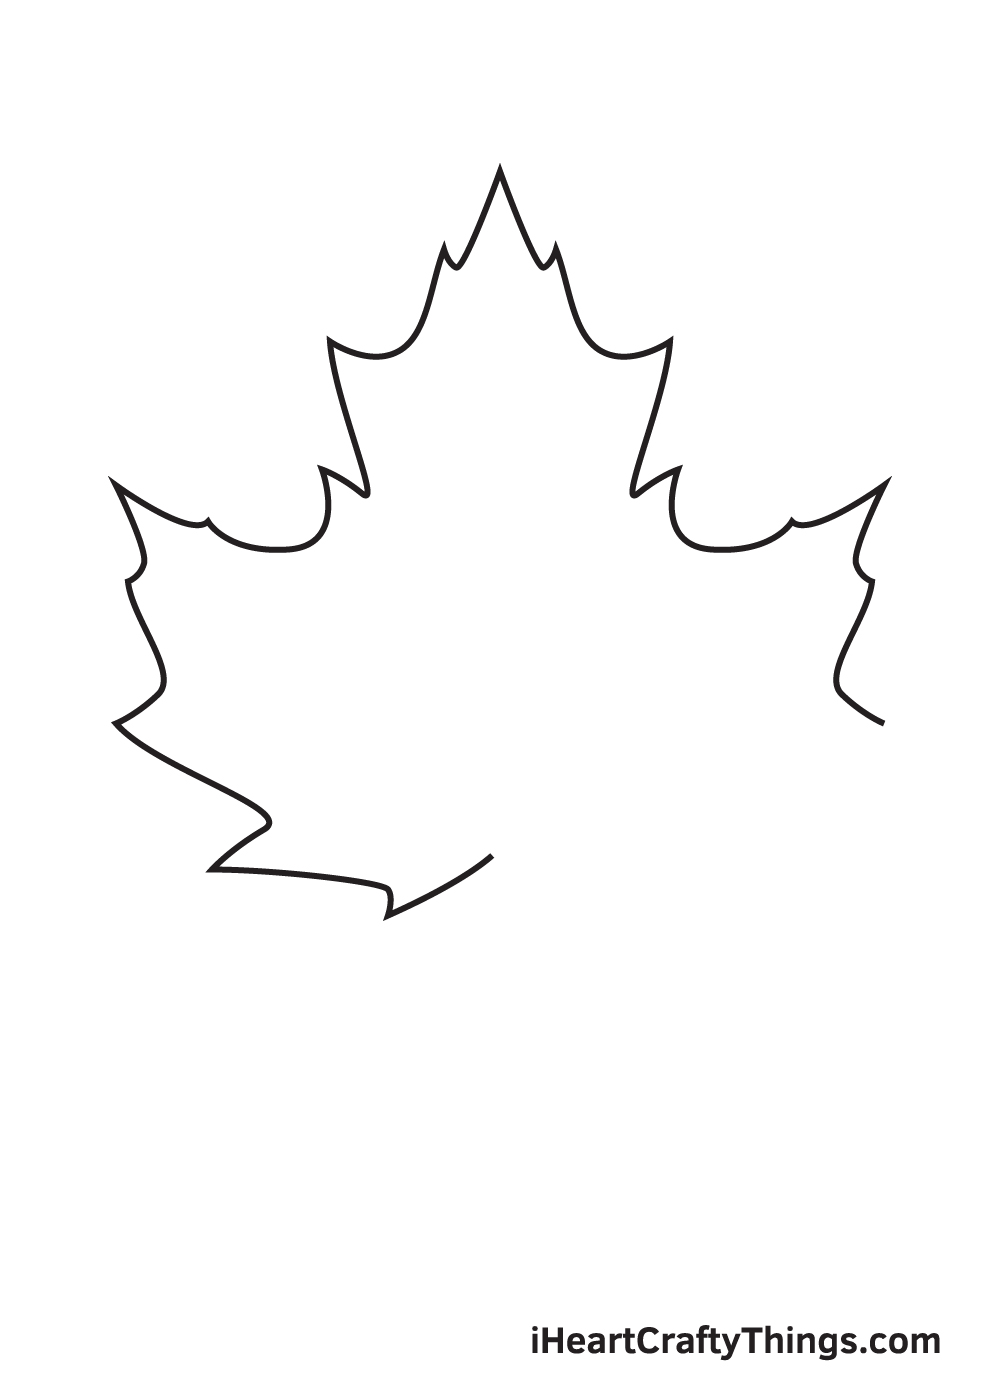
We shall continue with mirroring the side of your drawn leaf in this step. So in this part of this guide on how to draw Fall leaves, we will be mirroring the section we drew in step 2 of this guide.
It can be tricky, but try your best to get it at the same angle and size as the other side.
Step 6 – Finish mirroring the final part of the leaf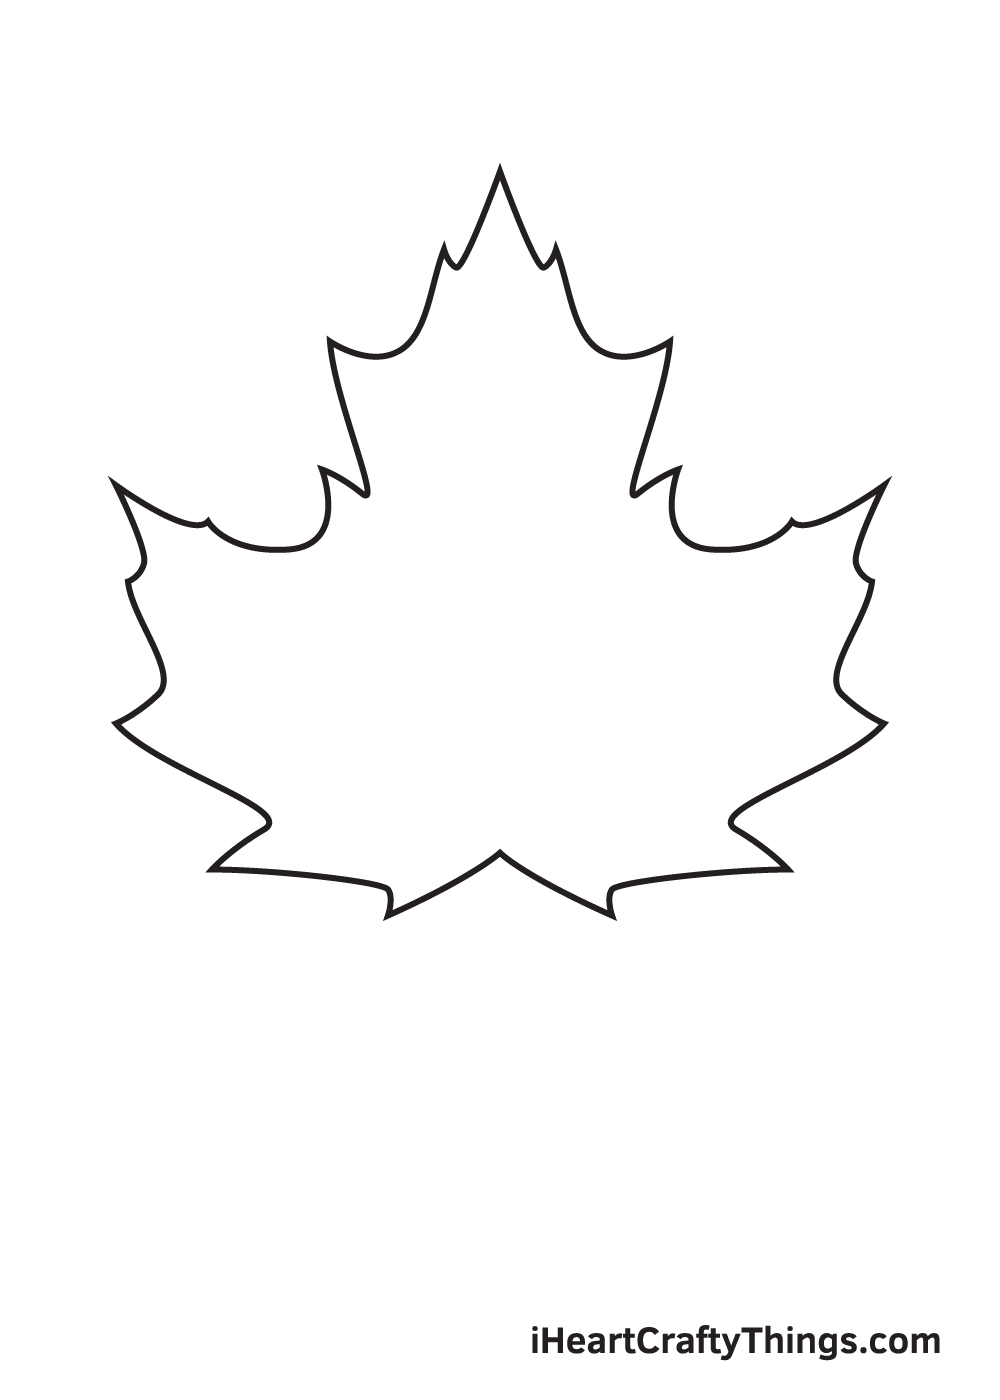
You know the drill at this point! In this part of your Fall leaves drawing, you can finish off the last section of the leaf, mirroring it as you have been doing.
Now that you have the full leaf, we can move on to the next steps.
Step 7 – Now, draw in a stem for your leaf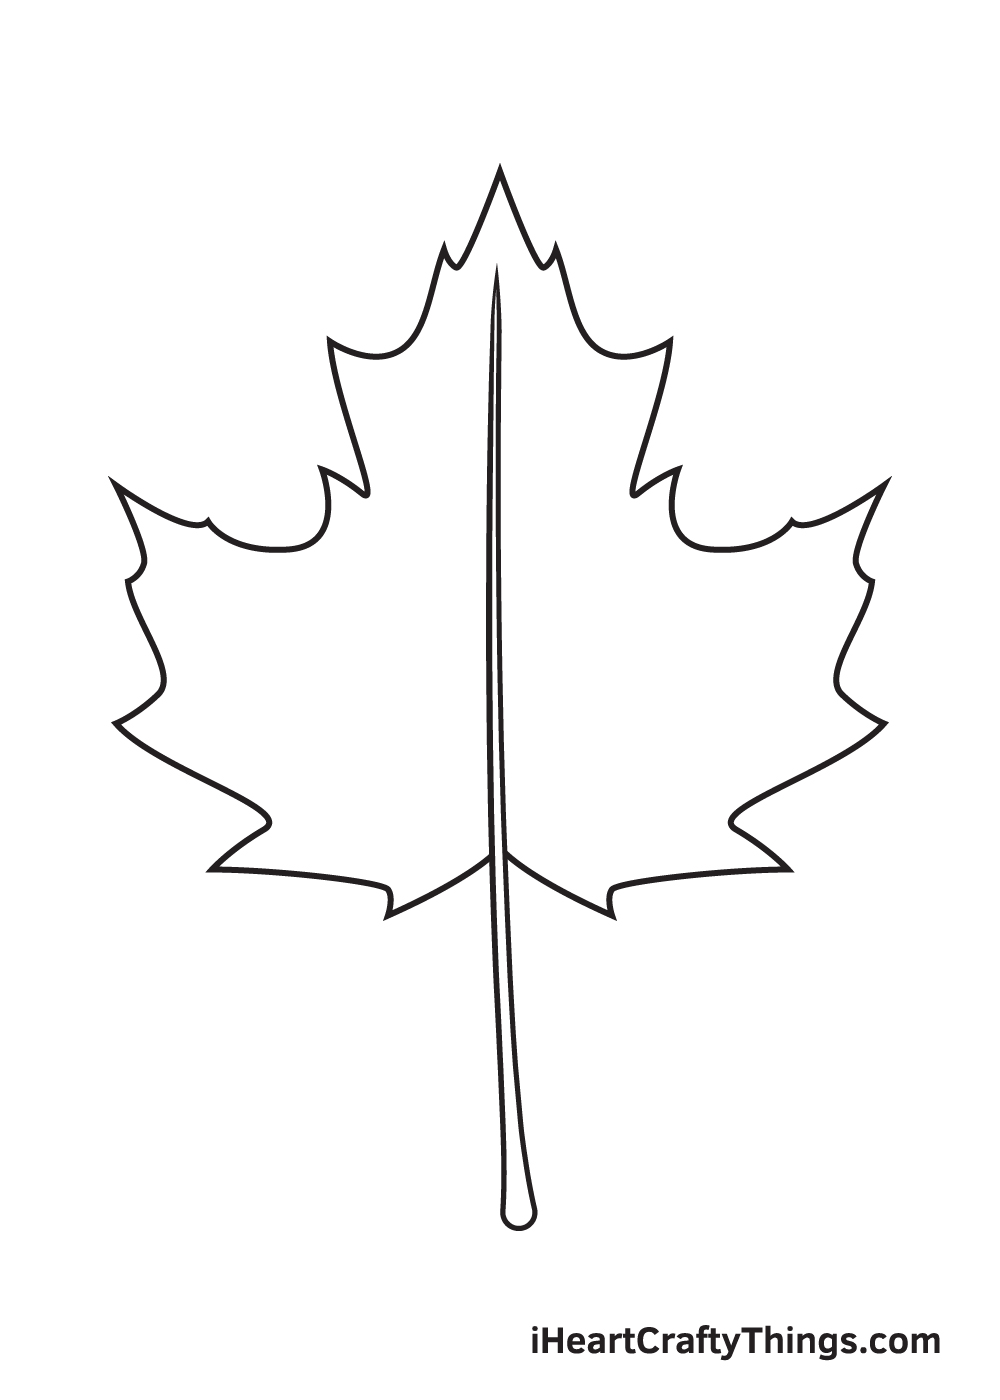
With the outline of your leaf drawn, you can begin on the inner parts of it in step 7 of this guide on how to draw Fall leaves. You'll want to use a ruler for the next few steps, as there will be lots of straight lines.
The center spine of the leaf is called the midrib, and we will be drawing it in for this step. As you can see in the image, it will start very thin at the top and get slightly thicker as it goes down.
Step 8 – Next, add some veins to your leaf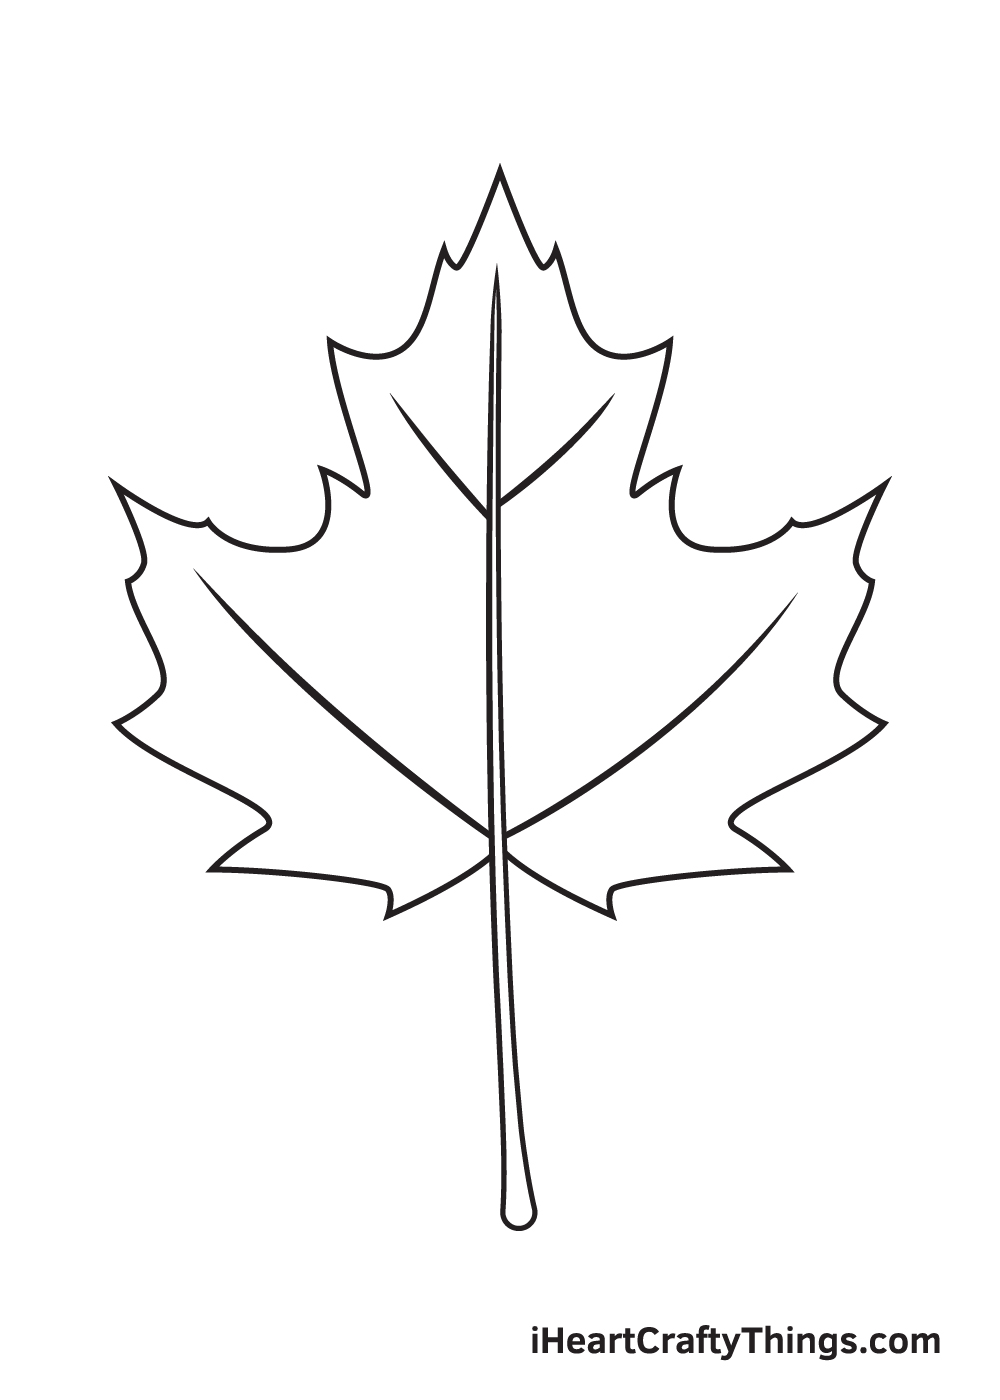
Your Fall leaves drawing needs some veins, so let's add some in for this step.
We'll keep it simple by drawing four straight lines, with the top ones looking shorter and the bottom ones a bit longer.
Step 9 – Draw some final details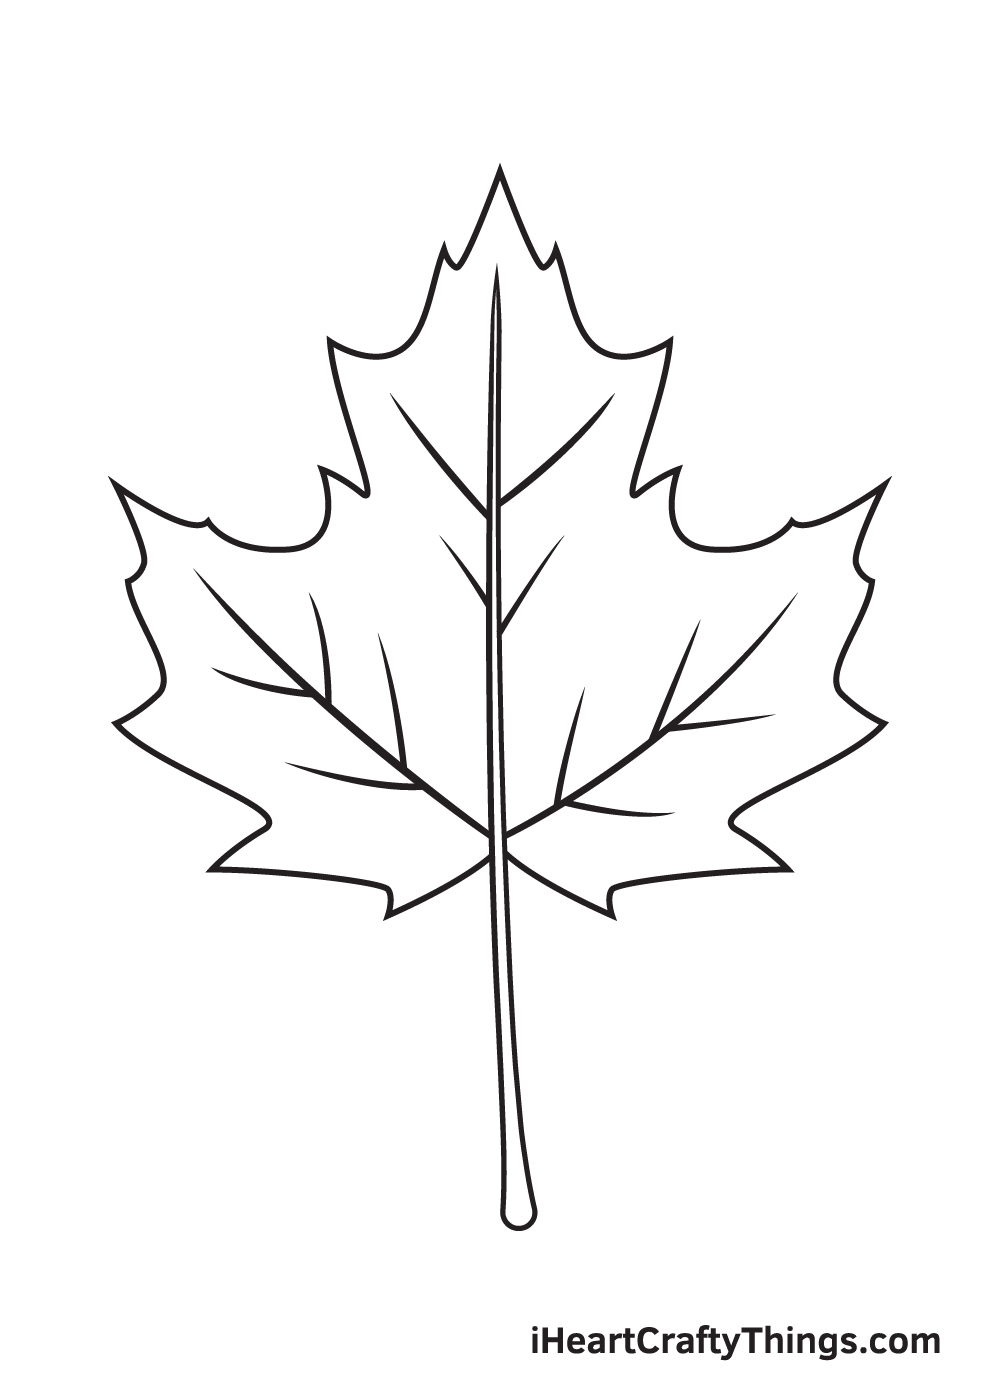
To finish off your Fall leaves drawing, we will finish off the final details.
To do this, simply use your ruler to draw some smaller veins coming off from the veins you drew in the previous step. With that done, you can move on to the final step of this guide!
With that, you have reached the final step of our guide on how to draw Fall leaves. There's only one more fun step remaining, and that's to color it in.
There are many beautiful Fall colors that you can use to color in your beautiful Fall leaves drawing.
There are brilliant yellows, warm reds, fiery oranges and rich browns. There are so many options open to you, and you should really let your creativity shine!
If you're feeling extra crafty, you could find some crunchy Fall leaves if it's that time of year, crunch them up and then stick them onto your drawing for an authentic look!
You could also experiment with some fun art mediums, such as paints, watercolors and so many more. What will you use to finish off your drawing?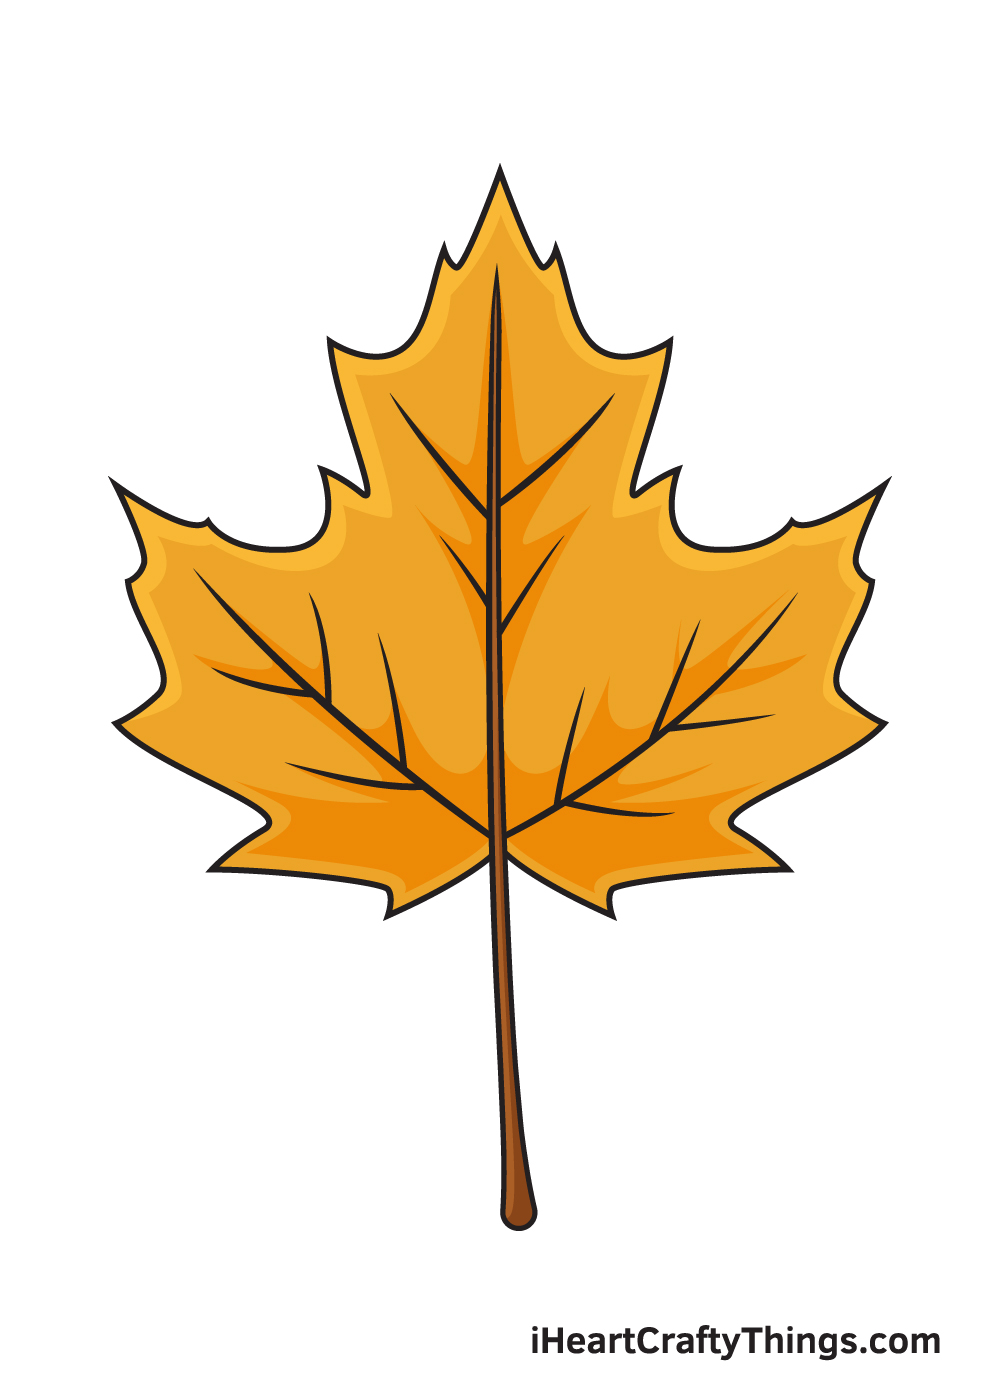
Your Fall Leaves Drawing is Complete
Now that you've finished your drawing and colored it in with some beautiful colors, you have successfully completed our tutorial on how to draw Fall leaves!
We hope that this guide helped to make this trickier drawing subject easier for you. Maple leaves have a very intricate design, so our aim was to break it down in a way that would make it easy and fun for you to learn!
With this guide completed, now you can have some fun putting your own spin on it.
You could draw in many leaves on one page to make it look like they're falling from a tree or draw multiple leaves and use a different color for each one.
Maybe you could even do a series where you use a different art medium for each leaf you color in! The possibilities are endless and we can't wait to see what you do.
This guide will be followed by many more for you to have fun with, so please keep checking in on our site to catch all of our new tutorials as they come out.
We would also love to see your finished Fall leaves drawing, so please go ahead and share it on our Facebook and Pinterest pages for us to enjoy! We can't wait to see your amazing creativity.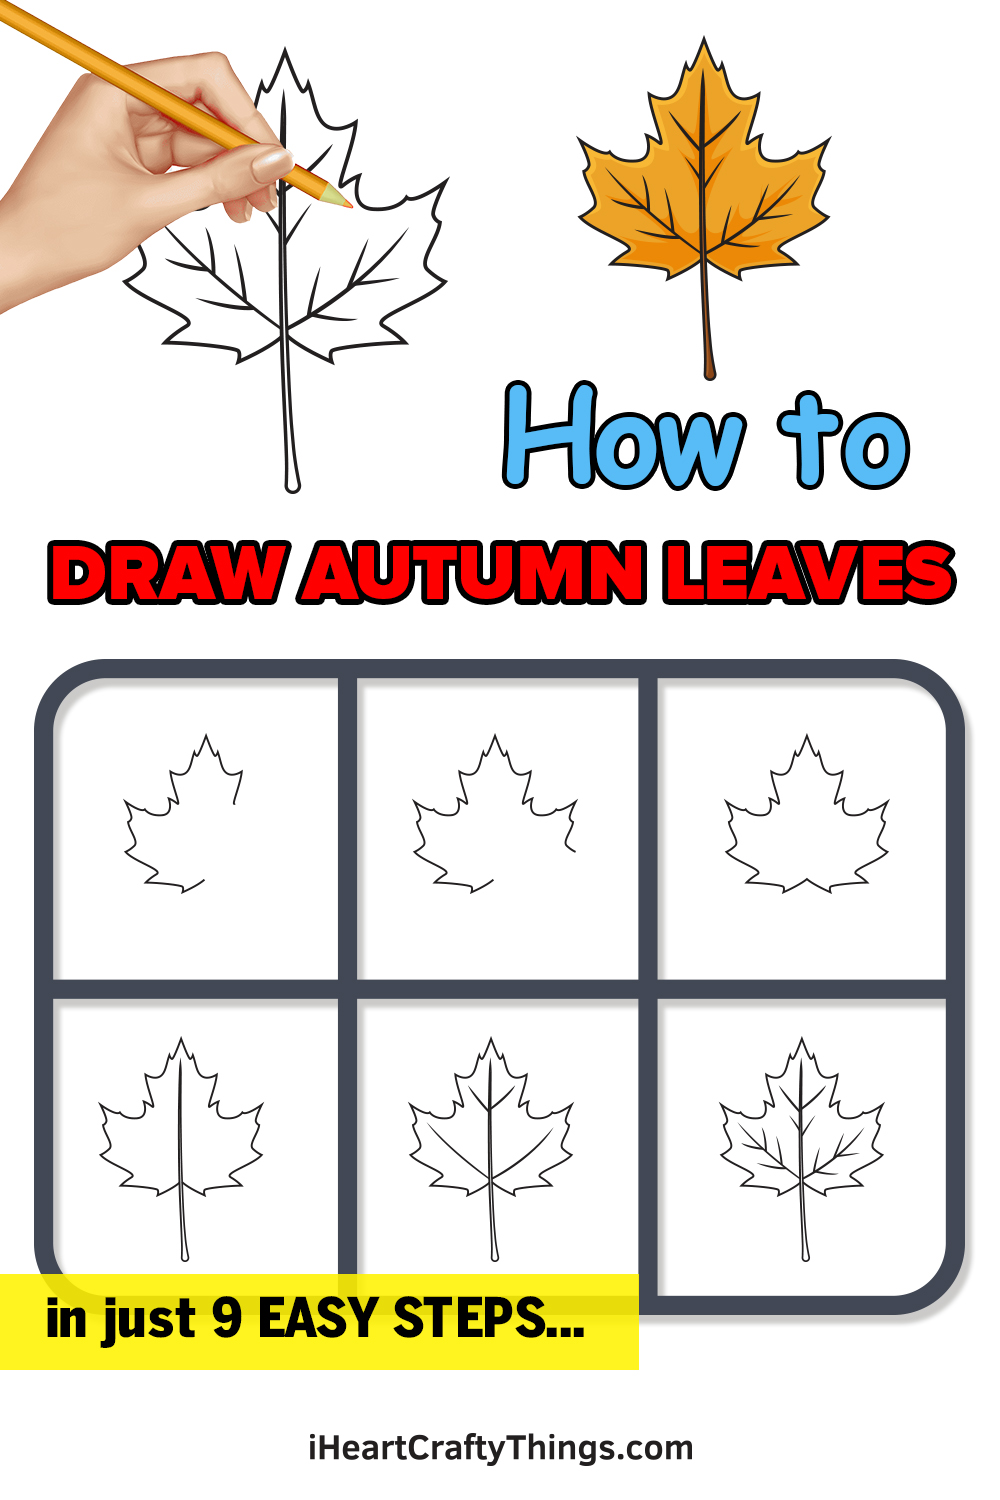
Source: https://iheartcraftythings.com/fall-leaves-drawing.html
Post a Comment for "Step by Step Fall Drawing"